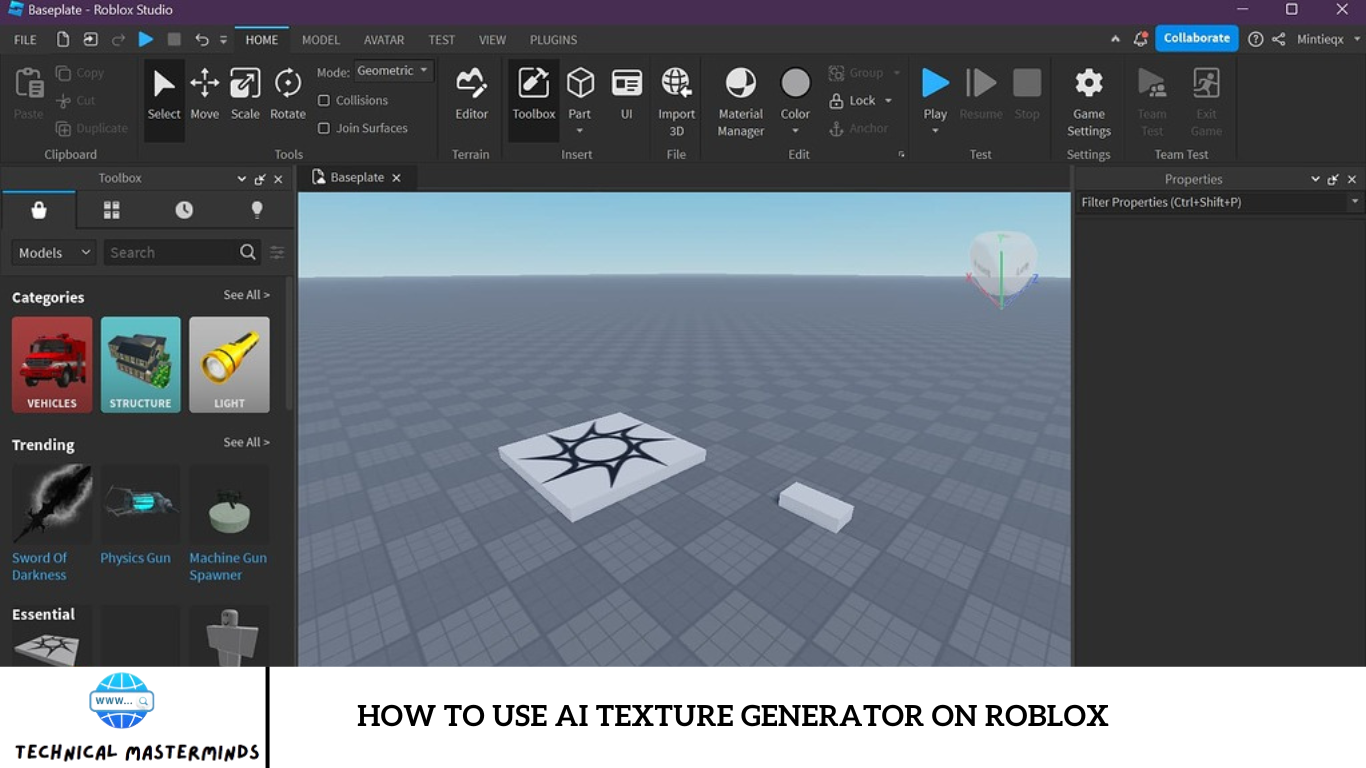
Roblox has emerged as a leading gaming platform, appealing to children and adults with its extensive array of user-created games. It allows gamers to create their own games and customize avatars using advanced AI technology.
Continuing its innovative streak, Roblox has introduced two new AI-powered tools focused on avatar creation and texturing. The latest feature, Avatar Auto Setup, streamlines the creation of 3D models in Roblox. Read on to learn how to utilize this feature!
How to Create an Avatar Using Roblox Avatar Auto Setup
With Avatar Auto Setup, transforming 3D body meshes into animated avatars is now a one-click process, significantly reducing the time from days to minutes.
- Open Roblox Studio and select ‘Avatar’ from the top tab.
- Click on ‘Avatar Setup’ and then ‘Set Up Avatar.’
![]()
- Choose features like rigging, facial animation, skinning, clothing, and partitioning from the auto setup tool.
- Preview your selected avatar in the Preview Window.
- Verify features before uploading using the ‘Body,’ ‘Face,’ and ‘Test in Experience’ icons on the left tabs.
- To unequip an item, click it in the selection column and press the ‘X’ button at the top right of the equipped item. Alternatively, right-click the asset in the Equipped column and select ‘Unequip.’
- To add assets, click on the ‘Plus’ icon at the bottom of the menu after selecting from Explorer or 3D workspace.
- Click ‘Test in Experience’ to playtest without transferring setup changes.
- Finally, click ‘Publish’ to upload your avatar and accessories to the Marketplace.
Features of Roblox Avatar Auto Setup
The Avatar Auto Setup offers an array of features:
- Avatar Customization Templates: Utilize pre-made templates for clothing styles and facial traits to expedite the avatar creation process.
- Real-time Mesh Optimization: Adjust mesh complexity in real-time during the auto-setup phase to ensure optimal performance without sacrificing visual quality. This is. This is particularly useful for low-end or mobile devices.
- Custom Animation Import: Custom animations are imported to modify avatar movements, clothing, skins, and more.
Model Requirements for Roblox Avatar Auto Setup
To function optimally, Avatar Auto Setup requires specific conditions from the input body model:
- Single Mesh: The body must be a single mesh with six merged components, including one main head, a body with specific features, and five distinct head components.
- Non-Shared Head Geometry: Eyeballs, teeth, and tongue should not share vertices with the body mesh.
- Geo Affix: The asset name must end with _Geo.
- Triangle Budget: The total body mesh resolution must be within 20k triangles.
- Humanoid Shape: The body should resemble a humanoid shape with standard body parts.
- A-Pose: The body should be in an upright A-pose facing the negative Z-axis.
- Symmetry: Ensure left and right symmetry, though asymmetrical bodies may still function.
- Watertightness: Ensure the model is watertight except for the eyes and mouth.
- No Accessories: Exclude accessories like hair, eyebrows, or eyelashes.
- Distinct Neck Area: Keep the neck distinct from the shoulders and upper torso.
- Texture Inclusion: The model should include a base texture or surface appearance object.
- Policy Compliance: The model must adhere to Roblox’s Marketplace Policy and Community Standards.
Supported and Unsupported Models for Avatar Auto Setup
Refer to the guidelines above to understand the supported importing models for Avatar Auto Setup. Unsupported models include:
- Asymmetrical models.
- Models in an I-pose rather than an A-pose.
- Animal-shaped models.
- Non-contiguous meshes.
- Models without a neck.
- Models with out-of-proportion limbs.
Testing in Experience with Roblox Avatar Auto Setup
The ‘Test in Experience’ feature allows you to playtest your avatar setup in the game
without applying the changes immediately. Adjustments to skin tone, body components,
and accessories will not be transferred to the playable character model until confirmed.
Ensuring Success with Avatar Auto Setup
To achieve the best results with Avatar Auto Setup, ensure your 3D model meets the specified requirements. Carefully follow the prerequisites to successfully create and publish your avatar.
Now that you know how to create an avatar in Roblox with the new Avatar Auto Setup enjoy building various 3D models within minutes! If you have any questions or suggestions, feel free to comment. Visit TechCult for more tech-related insights.
Roblox’s Ongoing AI Innovation Journey
Roblox continues to advance its AI capabilities with new announcements following recent innovations, including the full release of Code Assist and automatic chat translations in February 2024:
- Code Assist: During the 11-month beta, this tool, which suggests lines or functions of code as creators type, facilitated the adoption of around 300 million code characters. Toya Play reports a 5% increase in development efficiency due to Code Assist, equating to “months of work across the company.”
- Automatic Chat Translations: In the first 30 days since its launch, this feature has enabled users worldwide to communicate seamlessly, regardless of language barriers. Usage of Roblox’s TextChatService has more than doubled, resulting in 19.7 billion translated messages—about one-third of all messages sent on Roblox—providing creators with valuable feedback from international users.
“AI empowers us to create beyond our imagination and connect people globally,” said Juniper Hovey, Lead Engineer at Neura Studios. “This week at GDC, we’re unveiling a unique Roblox experience that transforms users into creators. Features like chat translations are essential for global connectivity. On Roblox, the line between creator and user is blurred. Our goal with AI and our upcoming release is to unify these roles.”
Roblox at GDC
Juniper Hovey and de Beer will join Stef Corazza, Head of Roblox Studio, and Chen Zheng, Head of Discovery at Roblox, on stage at GDC this Thursday, March 21st, from 10:00 to 11:00 to discuss “How Generative AI is Transforming Game Development, Discovery, and UGC.”
Texture Generator: Revolutionizing 3D Object Customization in Roblox
The second notable feature, “Texture Generator,” allows creators to swiftly alter the appearance of 3D objects using simple text prompts. This tool helps creators quickly prototype new designs and bring textures to life by mapping the object and applying a three-dimensional texture that aligns with its geometry.
For instance, a text prompt to create a texture for a 3D wooden treasure chest would result in a texture that highlights the chest’s sharp corners and includes additional elements like wooden planks and a lock. Similarly, requesting the look of a red weathered leather backpack would generate a fully 3D texture over the asset, capturing the desired worn and leather-like appearance.
Roblox states that this process, which traditionally takes hours or even days for an artist to complete, can now be accomplished in 15 to 30 seconds with Texture Generator. This innovation significantly accelerates the workflow for creators, enabling rapid and efficient customization of 3D objects.
Frequently Asked Question
What is Roblox Avatar Auto Setup?
Roblox Avatar Auto Setup is a tool that streamlines the creation of 3D avatars. It transforms 3D body meshes into dynamic, animated avatars with a single click, significantly reducing the creation time from days to minutes.
What features can I customize with Avatar Auto Setup?
You can customize several features, including rigging, facial animation, skinning, clothing, caging, partitioning, and more. This allows for a high level of personalization in your avatar creation process.
How can I test my avatar before finalizing it?
Use the ‘Body,’ ‘Face,’ and ‘Test in Experience’ icons from the left tabs to verify features. Click on ‘Test in Experience’ to playtest the avatar without transferring setup changes.
What should I do if I need to unequip an item from my avatar?
To unequip an item, click it in the selection column and press the ‘X’ button at the top right of the equipped item. Alternatively, right-click the asset in the Equipped column and select ‘Unequip.’
How do I finalize and publish my avatar?
Once you have completed and tested your avatar, click on the ‘Publish’ button to upload it and its accessories to the Marketplace.These steps and tips should help you effectively create and customize your avatars using Roblox’s Avatar Auto Setup, making the process quick and efficient.
Conclusion
Roblox’s Avatar Auto Setup feature represents a significant advancement in avatar creation within the platform. By leveraging AI technology, Roblox has streamlined the process, enabling users to create dynamic, animated avatars in a fraction of the time it would traditionally take. With features like rigging, facial animation, and clothing customization readily available, creators have unprecedented flexibility in personalizing their avatars. Furthermore, introducing the Texture Generator adds another layer of customization, allowing creators to quickly prototype new looks and textures for 3D objects using plain language text prompts.

